
Hoe audio naar tekst te transcriberen: een complete gids
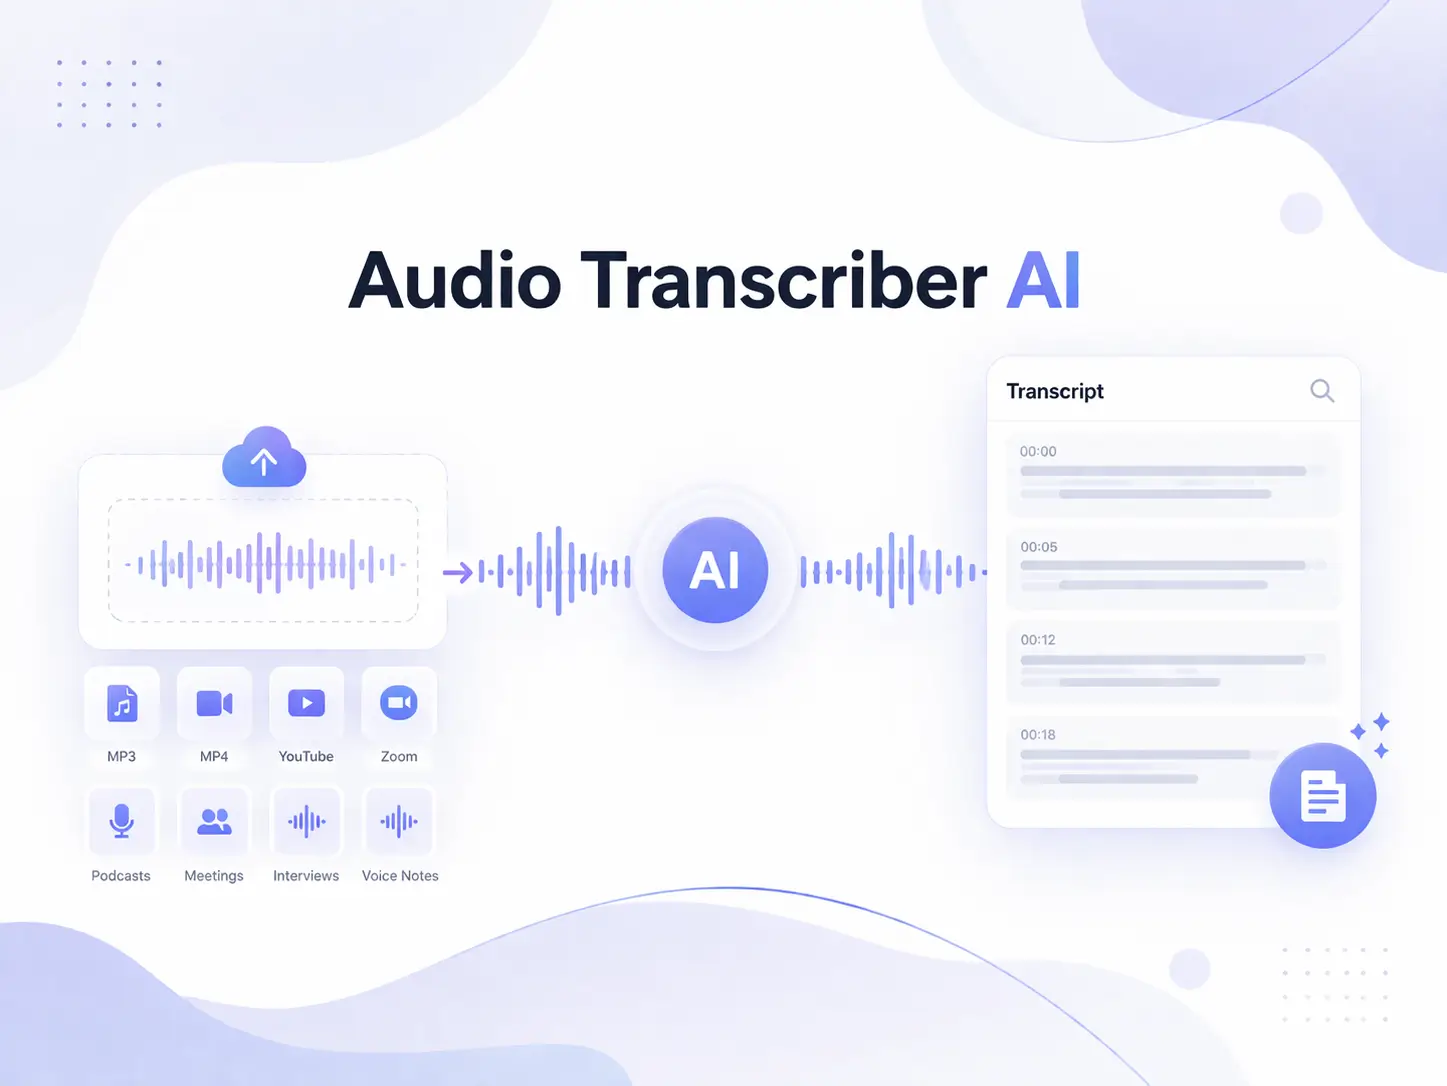
Maybe you have a one-hour meeting recording, a podcast episode, an interview, a lecture, or a voice memo sitting on your device. The information is valuable, but manually listening from beginning to end, taking notes, and searching for important details can be time-consuming and inefficient.
Audio transcription solves this problem by converting spoken words into editable text. Whether you need to turn a meeting into searchable notes, a podcast into an article, or an interview into a written record, AI transcription tools can help you quickly search, edit, summarize, and reuse your content without manually typing every sentence.
So, what is the best way to transcribe audio to text? This guide compares popular methods, including Whisper, subtitle tools, local transcription software, and online AI transcription tools. We will also show you how to transcribe audio to text free using an online AI transcription workflow.

Popular Ways to Transcribe Audio to Text
Method 1: Whisper (Free but Requires Technical Setup)
Whisper is a popular solution for users who want to transcribe audio to text locally without relying on cloud services. It can run locally on your computer and convert audio files into text without paying for cloud transcription services. For beginners, tools like Subtitle Edit with Whisper provide a more user-friendly interface, and many step-by-step tutorials are available online to help users install and configure Whisper-based transcription tools.
Whisper has several advantages, including free local transcription after the initial setup, no per-minute transcription fees, support for multiple languages, and better privacy because audio files remain on your own device. However, it requires installation and technical configuration, uses your computer’s processing power, and may not be as beginner-friendly as online transcription tools. Whisper-based solutions also usually lack a complete editing workspace and document workflow. It is best suited for users who want maximum control, privacy, and unlimited local transcription.
Method 2: Subtitle Tools (AI Video Captions)
Some users do not need a traditional text document but instead need subtitles with timestamps for videos. Tools such as Subtitle Edit, CapCut, YouTube automatic captions, and other subtitle editors use AI speech recognition to automatically generate captions. For example, Subtitle Edit combines subtitle editing features with Whisper-based transcription, allowing users to create, review, and adjust subtitles line by line before exporting them for video platforms. These tools are useful when users want to transcribe audio to text and convert recordings into timed captions for videos.
Subtitle tools offer several advantages, including being great for YouTube videos and social media content, automatically creating subtitle timing, fitting well into video editing workflows, and providing many free options. However, these tools are mainly designed for creating subtitles rather than readable text documents, and long recordings may require additional editing. They may also be less suitable for meeting notes, article creation, or situations where accurate speaker identification is needed. Subtitle tools are best for video creators who need captions rather than a simple audio transcript.
Method 3: Voice Typing Tools (Real-Time Speech)
Some users also try built-in speech input features, such as Google Docs Voice Typing, Apple Dictation, and Windows Voice Typing. However, these tools are mainly designed for real-time speech input rather than converting existing audio files into text. They work well for live dictation or short notes but are not suitable for transcribe audio to text from long recordings such as interviews, podcasts, or meetings.
Voice typing tools have some advantages, including being available on many devices, requiring no additional software installation, and being useful for short notes or personal writing. However, they are not designed for converting existing MP3 or MP4 files, and their accuracy depends heavily on microphone quality. They also do not provide reliable timestamps or subtitle export options, making them unsuitable for long recordings. Voice typing tools are best for live dictation rather than converting recorded audio into text.
Method 4: Online AI Transcription Tools (Fast & Easy)
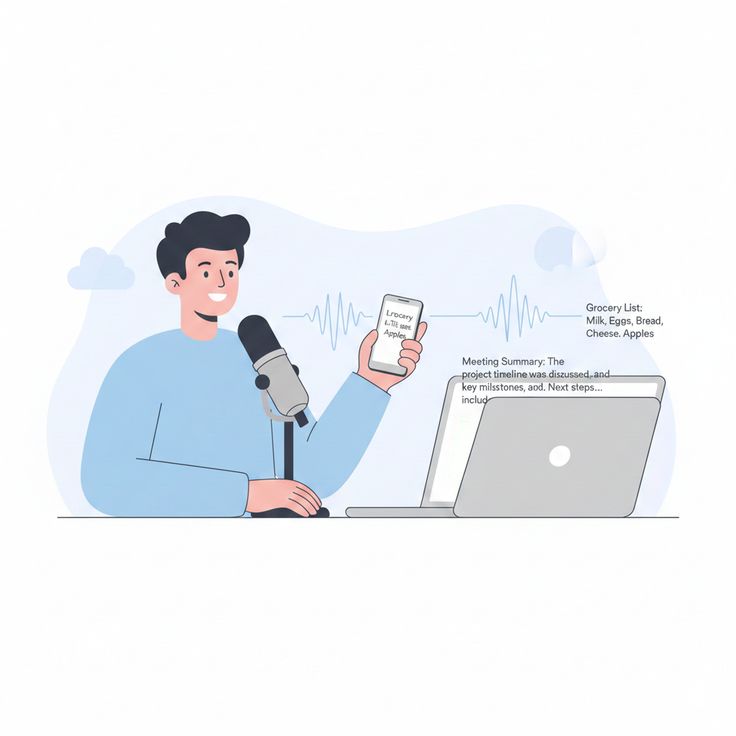
For most everyday users, online AI transcription tools are one of the easiest ways to transcribe audio to text. Popular options include Cosmos, Cubva, Otter.ai, TurboScribe, Notta, Happy Scribe, and Sonix. These browser-based tools work without software installation or technical setup, making them suitable for voice recordings, interviews, podcasts, meetings, and lectures.
Online tools can also provide free audio transcription for users who only need occasional transcription. Many platforms offer features such as timestamps, basic editing, speaker identification, and multiple export formats. However, free plans often limit transcription minutes, file length, uploads, or advanced features. If you are looking for a free audio to text converter, check these limits before uploading longer recordings.
After comparing different audio transcription methods, many users choose online AI transcription tools because they are simple, fast, and require no technical setup.
In the following section, we will explain how online AI transcription tools process audio files and guide you through the steps to transcribe audio to text online and turn your recordings into searchable, editable transcripts.
How to Transcribe Audio to Text Online?
AI transcription tools use advanced speech recognition models, speaker identification, and natural language processing to convert audio recordings into accurate, editable text.
The process usually involves several steps:
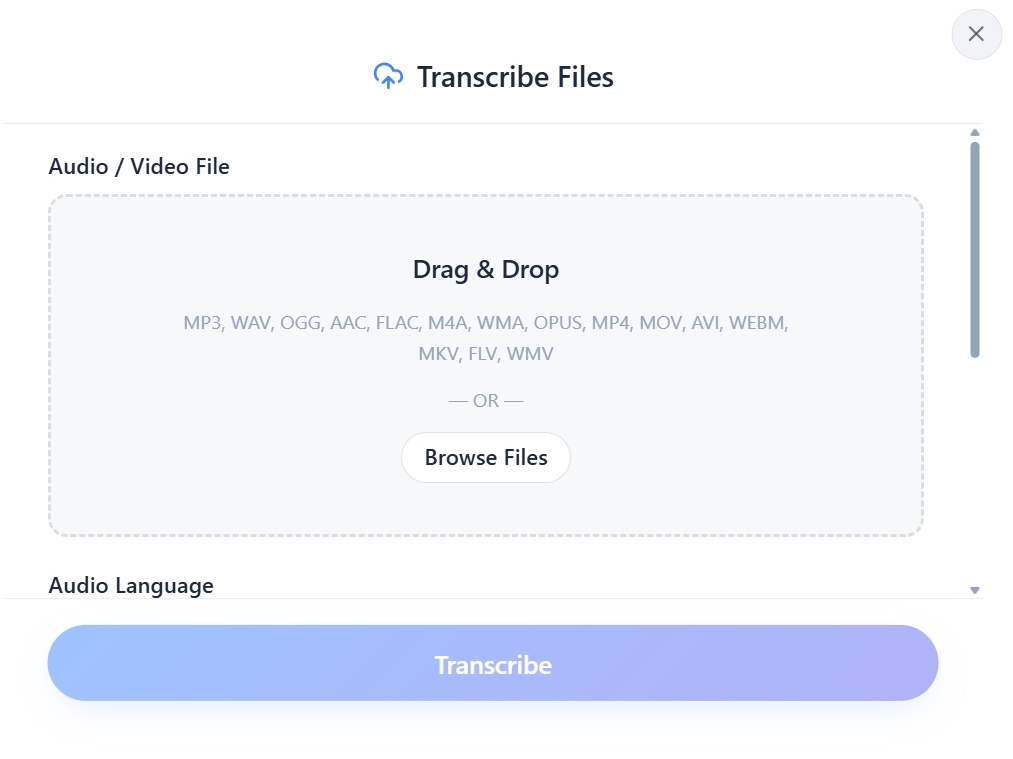
Step 1: Upload Your Audio File
Click Transcribe to convert your audio or video file into editable text.
Most AI transcription tools support common formats such as MP3, WAV, M4A, and MP4. Cubva supports more audio and video formats, including MP3, WAV, OGG, AAC, FLAC, M4A, WMA, OPUS, MP4, MOV, AVI, WEBM, MKV, FLV, and WMV.
Step 2: Select Language and Transcription Mode
Choose the Audio Language and select a transcription mode based on your needs:
-
Cheetah (Fastest) — For quick transcription
-
Dolphin (Balanced) — Best for everyday use
-
Whale (Most Accurate) — For higher accuracy
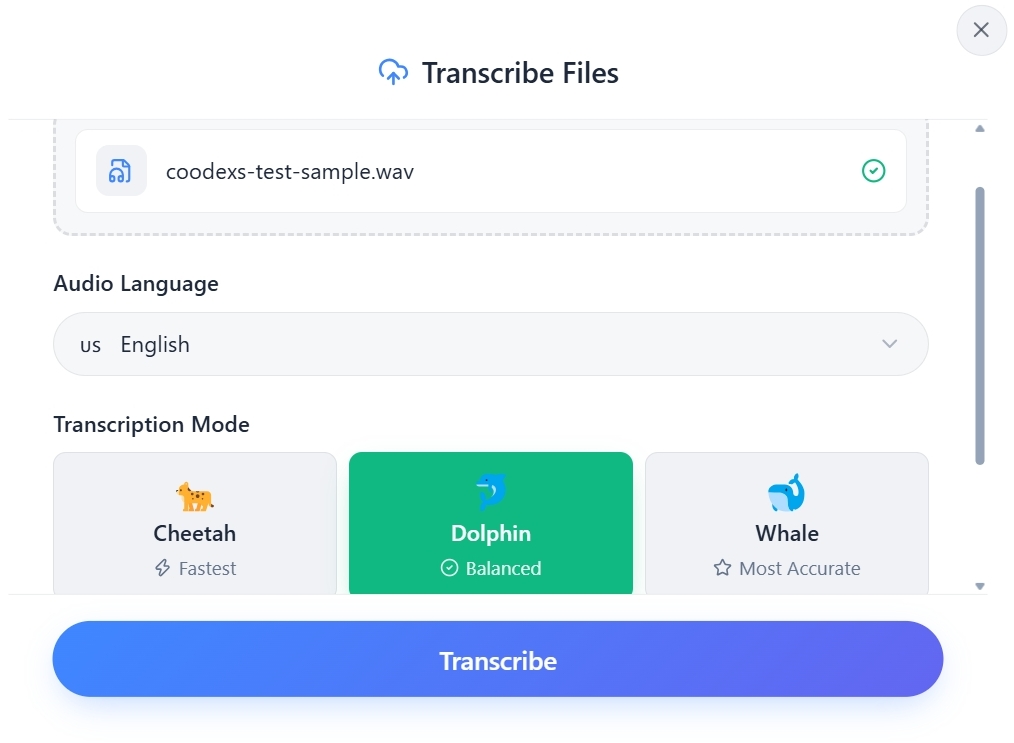
Step 3: Start AI Transcription
Click Transcribe to start the process. The AI will analyze the recording, recognize spoken words, and generate an editable transcript. The processing time depends on the file length, audio quality, and selected transcription mode. Short recordings are usually completed within a few minutes.
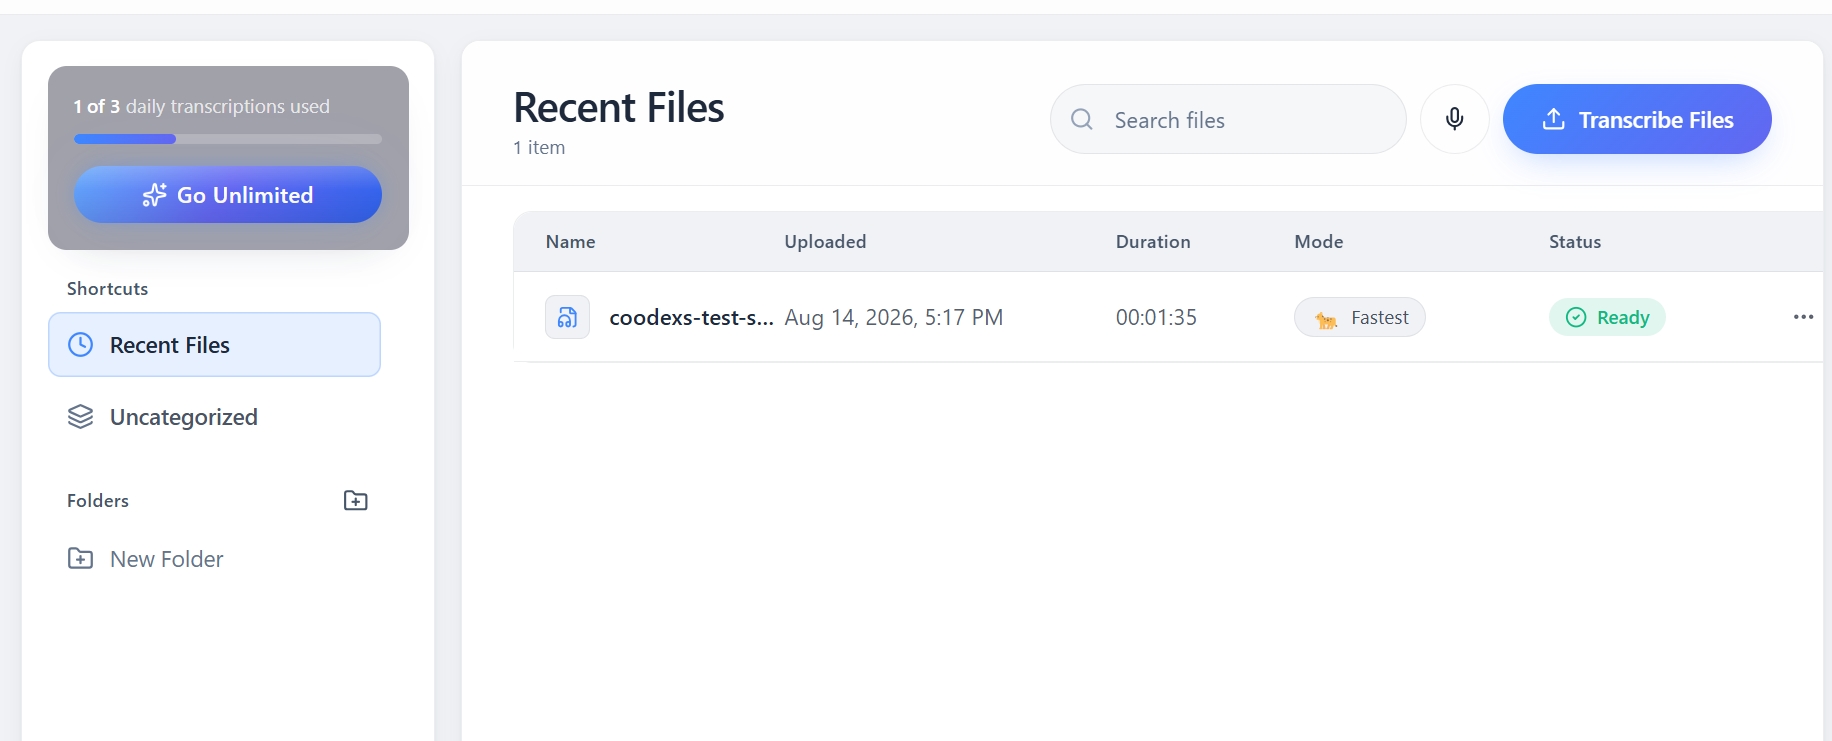
Step 4: Review and Export Your Transcript
Click Ready to open your generated transcript.
After reviewing the content, you can export your transcript in PDF, DOCX, TXT, or SRT formats.
How to Get More Accurate Audio Transcriptions
Recording quality directly affects transcription accuracy. Background noise, distance from the speaker, device limitations, and specialized vocabulary such as technical terms, names, and brand names can reduce audio clarity and lead to errors in the final transcript.
To improve transcription accuracy, consider the following tips:
1. Use High-Quality Audio
Clear audio provides a better foundation for AI transcription. Try to avoid background noise, heavy compression, distortion, or unclear recordings.
2. Keep Speakers Close to the Microphone
The distance between the speaker and the microphone directly affects audio clarity. Keeping the microphone closer to the speaker helps AI models recognize words more accurately.
For meetings or group discussions, using multiple microphones is often better than having several people speak around a single microphone placed far away.
3. Choose the Correct Language
If the transcription tool supports language selection, manually choosing the correct language is usually more reliable than depending entirely on automatic detection.
Selecting the right language, such as English, Spanish, or Chinese, can reduce recognition errors and improve transcript quality.
4. Review Names and Technical Terms
Names, brand names, industry terms, and abbreviations are some of the most common areas where AI transcription may make mistakes.
After generating the transcript, review these important details carefully. For professional content such as legal recordings, medical discussions, interviews, or business meetings, human proofreading is still recommended before publishing or sharing the final transcript.
FAQ
1. Are there free apps to record and transcribe audio recordings?
Many apps and platforms provide free plans for basic recording and transcription features. Available functions and usage limits vary, so users should compare each tool based on their audio type, recording length, and transcription needs.
2. What is the best way to record and transcribe audio recordings?
The best approach is to use a reliable recording and transcription tool that supports long files, speaker identification, and multiple export formats. Clear audio recording and reviewing the transcript afterward can help improve overall accuracy.
3. How long does it take to transcribe an audio recording?
The processing time depends on factors such as audio length, file size, audio quality, and the transcription service being used. Many AI transcription tools can complete shorter recordings within minutes, while longer files may require more processing time.
4. What equipment is needed to record audio clearly?
A quality microphone or smartphone recorder, proper microphone placement, and a quiet recording environment can help capture clearer audio and improve transcription results.
5. Who uses audio transcription services?
Students, educators, researchers, journalists, content creators, and professionals use audio transcription services to convert recordings into searchable notes, study materials, articles, summaries, subtitles, and other reusable content.